 Miya Bholat
Oct 21, 2026
Fleet Inspection Photos: What Drivers Should Capture
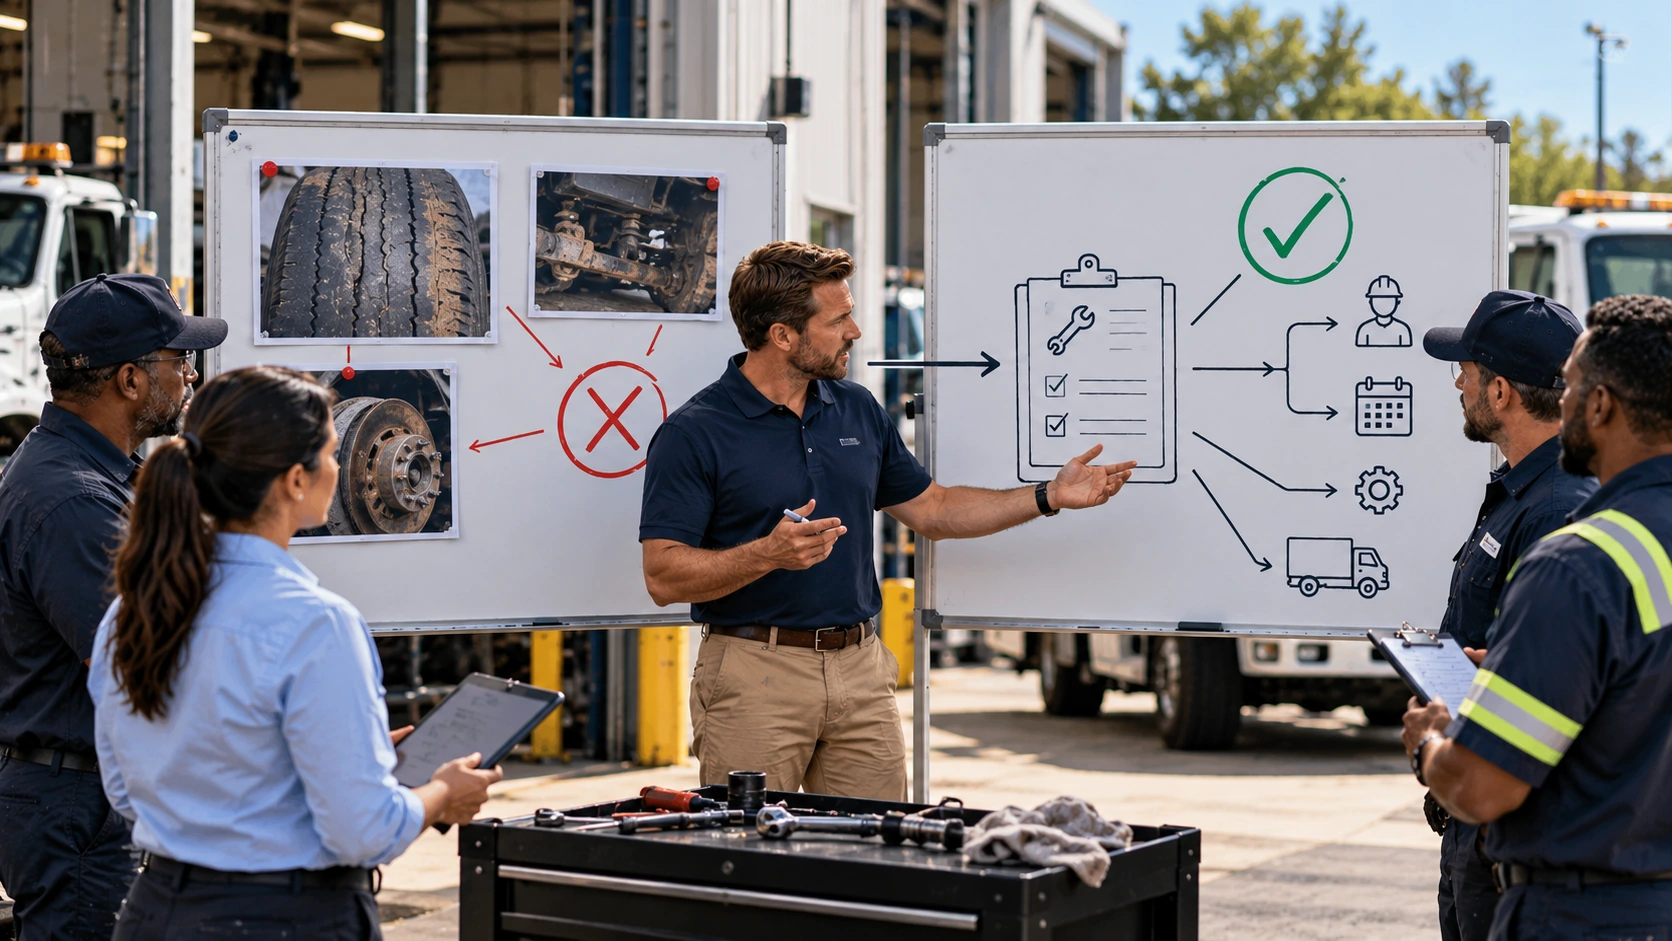
Fleet inspection photos are visual records of vehicle defects, existing damage, and developing wear captured during driver inspections. Drivers should photograph safety defects such as damaged tires, leaks, and broken lights using a wide shot and a close view, while recording cosmetic damage and changes in vehicle condition when necessary. A consistent fleet safety and compliance process connects these images to inspection records, helping managers identify repair needs, document vehicle condition, and resolve damage disputes.
Key Takeaways
- Photograph every visible safety defect. Prioritize damaged tires, brake components, steering issues, leaks, lighting defects, and structural damage.
- Capture both context and detail. One wide photo shows where the defect is, while a close view shows its condition.
- Record existing damage before it becomes disputed. Photographs of dents, scratches, and glass damage help establish vehicle condition.
- Photos support DVIR documentation but are not federally mandatory. FMCSA requires accurate defect reports, not photographic evidence.
- Keep photos attached to inspection records. Consistent timestamps, vehicle identification, and repair history make evidence easier to retrieve.
Why Inspection Photos Matter More Than the Checkbox
A checked inspection box confirms that a driver completed a check. A photograph shows what the driver actually observed.
That distinction matters when a mechanic needs to understand a reported defect or a fleet manager must establish when damage first appeared.
According to the Commercial Vehicle Safety Alliance's 2025 International Roadcheck results, inspectors conducted 56,178 inspections and reported an 18.1% vehicle out of service rate. Brake related issues accounted for 41.1% of vehicle out of service violations, while tire violations represented 21.4%.
These roadside findings do not establish how many vehicles previously passed driver inspections. They do show why managers need reliable evidence of reported conditions.
Even vehicles that complete routine checks may have developing problems. Understanding fleet risks that survive a passed inspection helps managers distinguish a completed checklist from verified vehicle condition.
Photos cannot replace mechanical inspections, but they can make visible defects harder to overlook and easier to investigate.
Which Defects Actually Require a Photo (and Which Do Not)
Drivers should not need to photograph every clean component. The most practical approach classifies observations by safety risk, liability, and whether the condition is changing.
Critical and Safety Related Defects (always photograph)
Any visible defect that might compromise safe operation deserves immediate documentation.
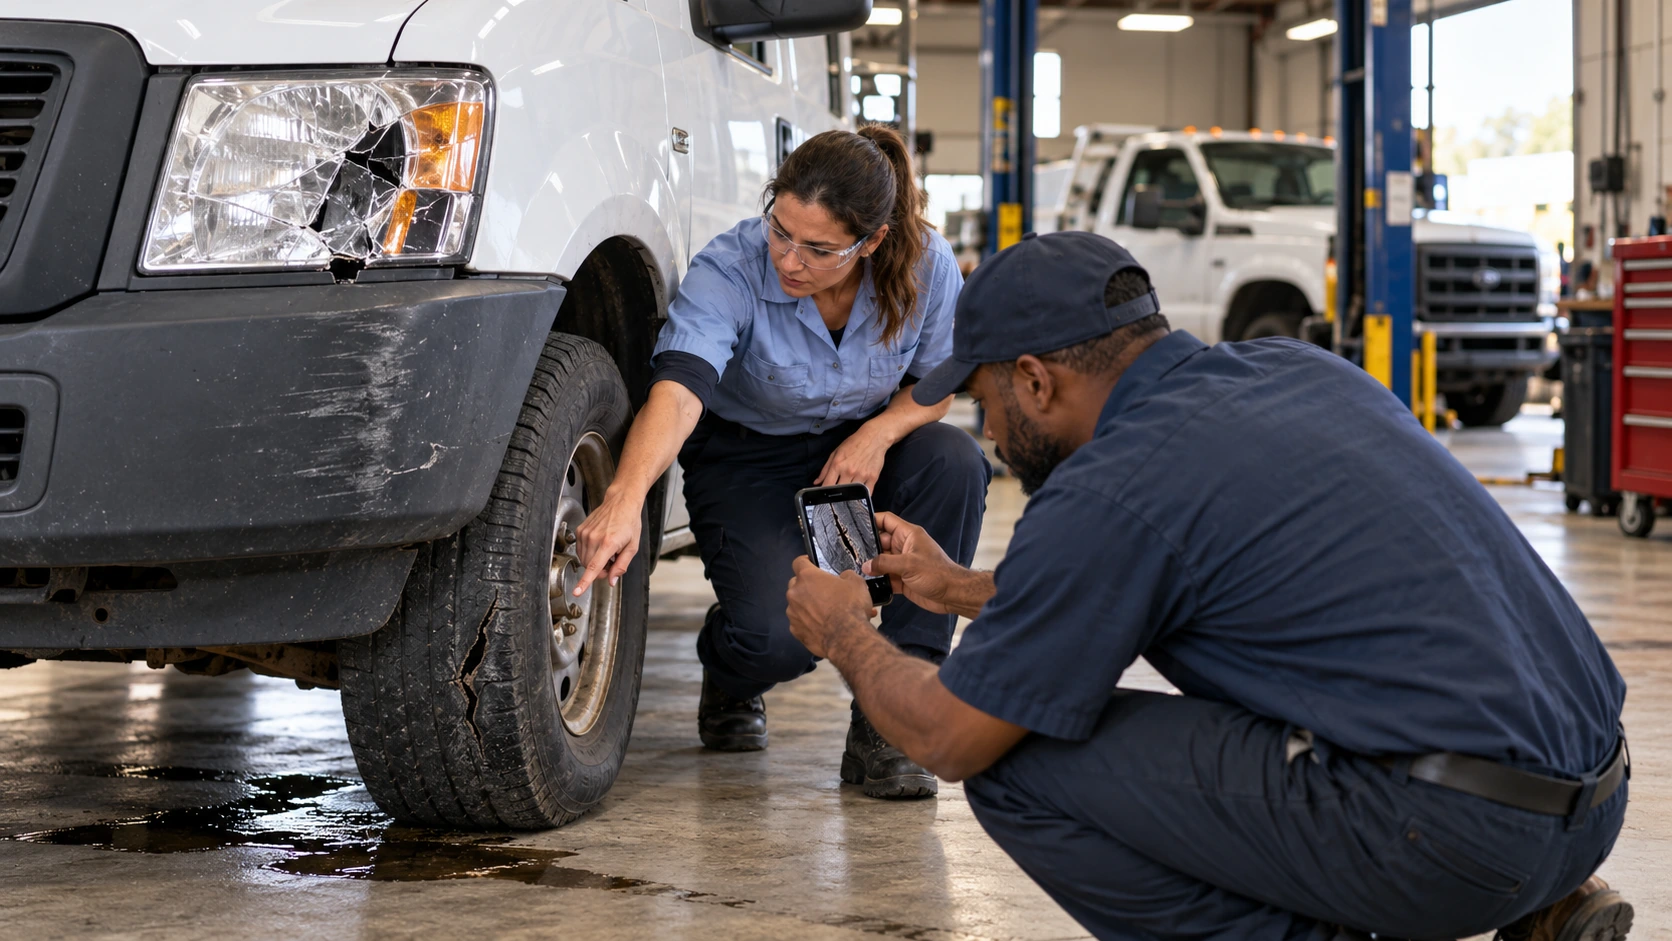
Examples include damaged tires, exposed tire cords, brake fluid leaks, damaged brake components, steering problems, defective lights, leaking fuel, damaged coupling devices, and cracked structural components.
A vehicle safety inspection checklist helps drivers identify which components require careful examination.
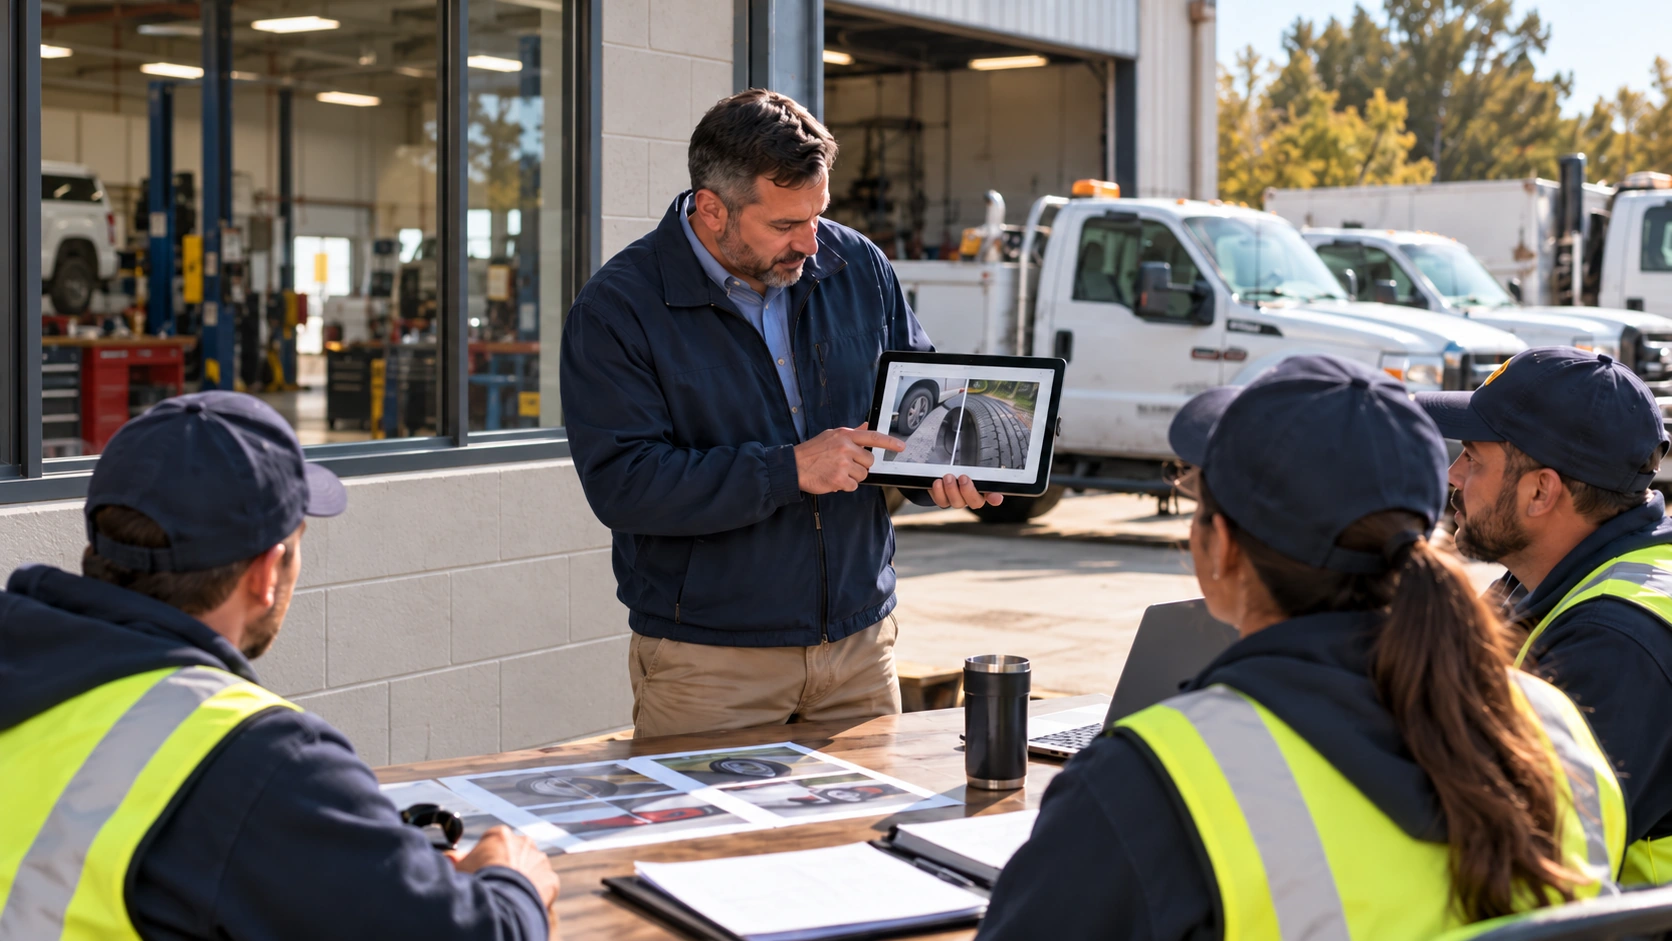
Drivers should take two photographs whenever it is safe and practical: one showing the defect's position on the vehicle and another showing the damage clearly.
Brake defects deserve particular attention. During its 2025 Brake Safety Week, CVSA conducted 15,175 inspections and placed 15.1% of inspected vehicles out of service for brake related violations.
A photo is not a substitute for immediate reporting. Drivers should stop operating a vehicle when its condition makes continued travel unsafe and follow the fleet's escalation procedure.
Cosmetic and Pre Existing Damage (photograph for liability, not safety)
A dented door, scratched bumper, or minor body damage may not prevent a vehicle from operating safely.
However, these observations matter when vehicles move between drivers, locations, or contractors.
Drivers should photograph existing damage when they first notice it, especially during vehicle assignment or handover. Maintaining safety records before a vehicle damage claim gives managers evidence to compare against later allegations.
Photograph glass chips as well, but escalate them if they obstruct visibility or threaten safe operation.
Normal Wear With a Trend (photograph when it changes)
Some defects develop gradually.
Uneven tire wear, expanding fluid stains, corrosion, and growing cracks become more useful when drivers document their progression.
For example, knowing the applicable DOT tire tread depth regulations helps drivers recognize when wear requires more than another photograph.
Capture a comparable image during each scheduled inspection when a developing condition is under active monitoring. Use a tread gauge or other appropriate measurement when visual evidence alone cannot establish severity.
What to Photograph by Defect Tier
| Defect Tier | Examples | Photos Needed | Primary Reason |
|---|---|---|---|
| Critical safety | Tire cuts, leaks, broken lights, visible brake damage | 2, wide and close | Safety and compliance |
| Cosmetic or existing | Dents, scratches, glass chips | 1 to 2 | Liability protection |
| Developing wear | Uneven tread, corrosion, growing cracks | 1 per inspection | Condition timeline |
These photo counts are recommended fleet practices, not federal requirements. Additional angles may be necessary for complex damage.
How to Take an Inspection Photo That Actually Holds Up
A blurry photograph or an extreme close view without context offers little help during an investigation.
Start with a wide photograph that identifies the affected area. Then move closer to capture the defect itself. Use natural lighting where possible, avoid glare, and check that the damage is in focus.
Photographing a tire cut, for example, should show both the tire's location and the actual damaged section.
Evidence also needs context. A useful inspection record identifies the vehicle, driver, capture time, inspection item, and location when available.
A configured inspection system can associate photos with these records automatically, reducing manual filing. The AUTOsist digital vehicle inspection app supports attaching inspection evidence to vehicle checks instead of leaving images scattered across personal phones.
GPS information and automatic metadata availability depend on the system and device settings. Managers should confirm which details their inspection process actually records.
The DVIR Photo Question: What Compliance Actually Requires
Federal DVIR regulations do not require drivers to take photographs.
Under FMCSA 49 CFR 396.11, drivers of covered commercial vehicles generally must prepare a written Driver Vehicle Inspection Report when they discover or receive reports of qualifying defects. The rule also establishes repair certification requirements.
Carriers must retain applicable DVIRs and associated certifications for three months. This is the regulatory wording, rather than a universal requirement of exactly 90 days.
Photographs remain optional, but they add detail when a written description cannot fully explain a defect.
For managers handling DOT fleet maintenance requirements, an image can help connect the driver's observation to the mechanic's assessment and subsequent repair.
Federal regulations also support electronic documentation. An FMCSA final rule effective March 23, 2026, explicitly clarified that DVIRs may be completed and maintained electronically. Electronic reporting was already permissible before this clarification.
Whether fleets use paper or electronic reports, inspection records must remain accessible. A documented photo trail can complement the records managers gather when preparing for a DOT fleet audit.
A Simple Photo Workflow Drivers Will Actually Follow
The best inspection photo process follows the driver's existing routine without requiring separate photo applications, messages, or manual file naming.
Eight Steps for Capturing Inspection Photos
A photograph should initiate action when it reveals a meaningful safety problem.
Establishing what happens after a driver reports a safety defect prevents observations from sitting unresolved in completed inspections.
The workflow should operate consistently before and after trips. Drivers should not need to remember whether to send a photograph by text, email, or another channel.
Connecting inspection findings with fleet maintenance work order software helps maintenance teams track the reported defect through assessment, repair, and closure.
The objective is simple: capture the problem once, preserve the evidence, and make the next action clear.
What Inspection Photos Save You (The Claims and Audit Case)
Consider a vehicle returned with a damaged rear bumper. The receiving driver reports the damage, but nobody can establish whether it existed before the vehicle changed hands.
Without earlier photographs, the fleet has limited evidence to resolve that disagreement.
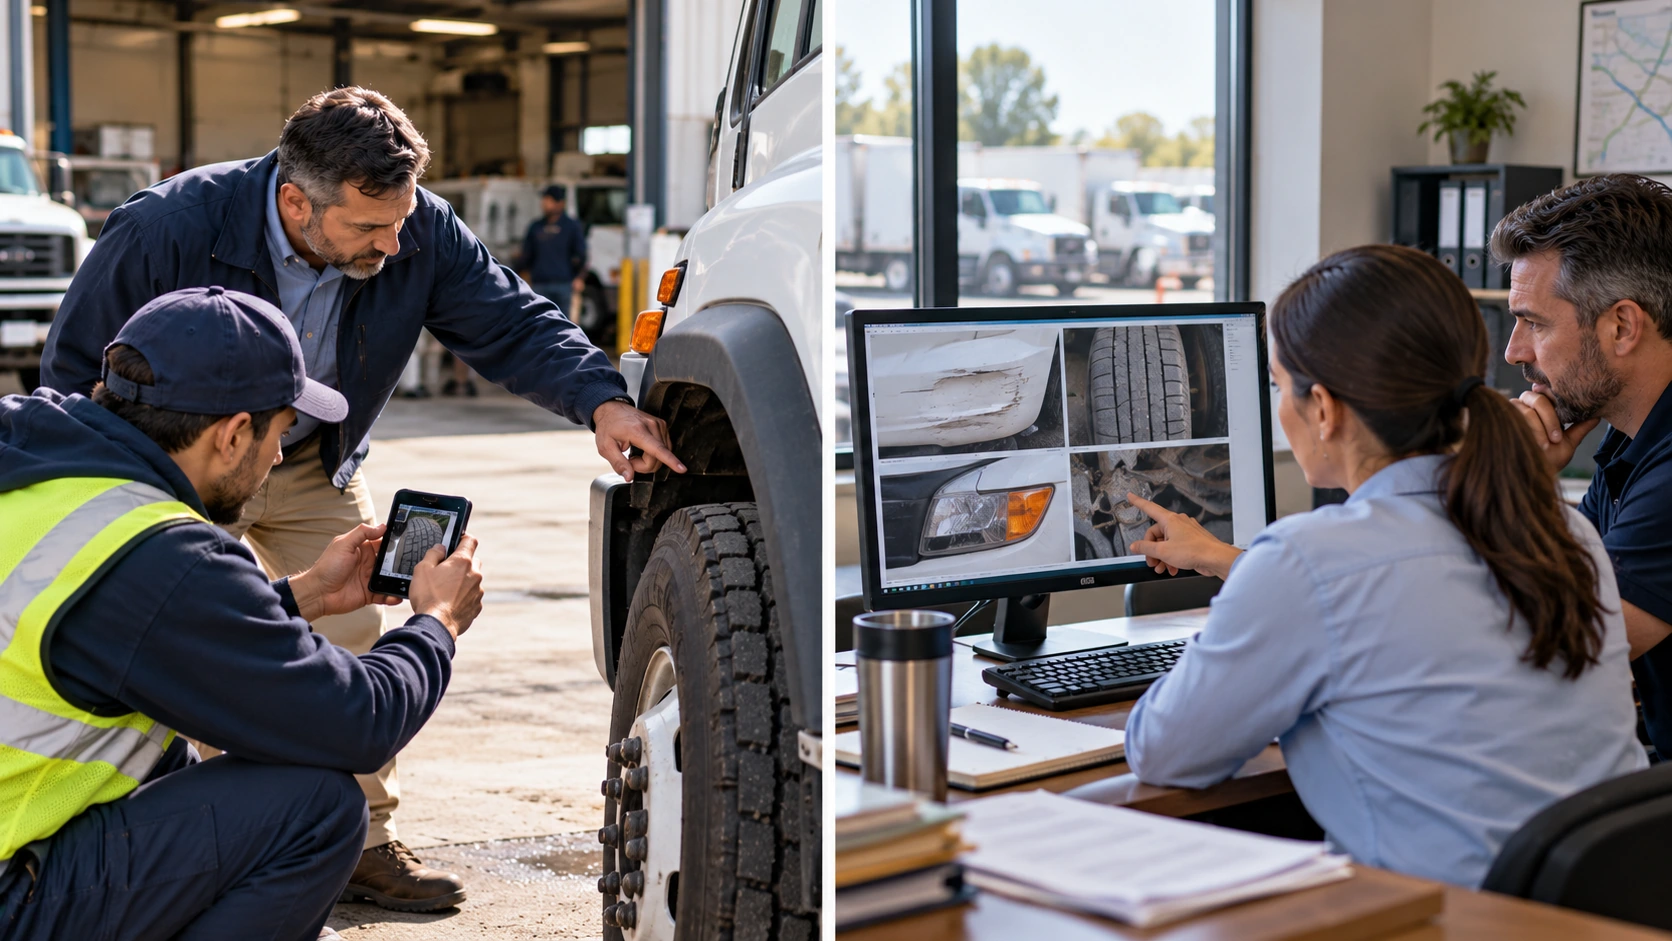
A dated condition record changes the discussion. Managers can compare photographs taken before and after the vehicle assignment, examine repair records, and identify when the damage first appeared.
This does not automatically establish liability or guarantee an insurance payment. However, reliable images can strengthen the documentation insurers and claims investigators review.
The same principle supports resale value. Consistent condition records help explain existing damage, repairs, and deterioration when managers evaluate vehicles for replacement or disposal.
For fleets managing multiple drivers, combining photo documentation with driver safety management also helps clarify responsibility without relying solely on recollection.
A useful claims record should preserve original images, inspection dates, vehicle identifiers, damage descriptions, and related repair information.
Building a Fleet Wide Photo Standard
Consistency matters more than collecting hundreds of photographs.
Define which defects require images, establish a basic capture standard, and build those expectations into the inspection template. Review submissions during the first few weeks and correct missing context or unclear photographs.
When every driver records similar defects in the same way, fleet managers gain a more reliable picture of vehicle condition, repair needs, and potential liabilities.
Frequently Asked Questions
-
Do drivers legally have to take photos during a DVIR?
No. FMCSA regulations do not require inspection photographs. Drivers must still meet applicable defect reporting requirements, and fleets can establish their own photo policies. -
How many photos should a driver take for one defect?
Two photographs usually work best for safety defects: one wide view and one close view. Cosmetic damage may need only one, while complex defects can require additional angles. -
What information should a fleet inspection photo include?
A useful photo should clearly show the defect and its location on the vehicle. Its inspection record should identify the vehicle, driver, date, time, and affected component. -
Should drivers photograph damage that was already there?
Yes. Drivers should document existing dents, scratches, and other damage during vehicle assignment or inspection. Earlier photographs help distinguish existing damage from new incidents. -
Can inspection photos help with insurance claims?
Yes. Dated photographs provide evidence of vehicle condition before or after an incident. They help claims teams evaluate damage, although photographs alone do not prove fault or guarantee coverage.